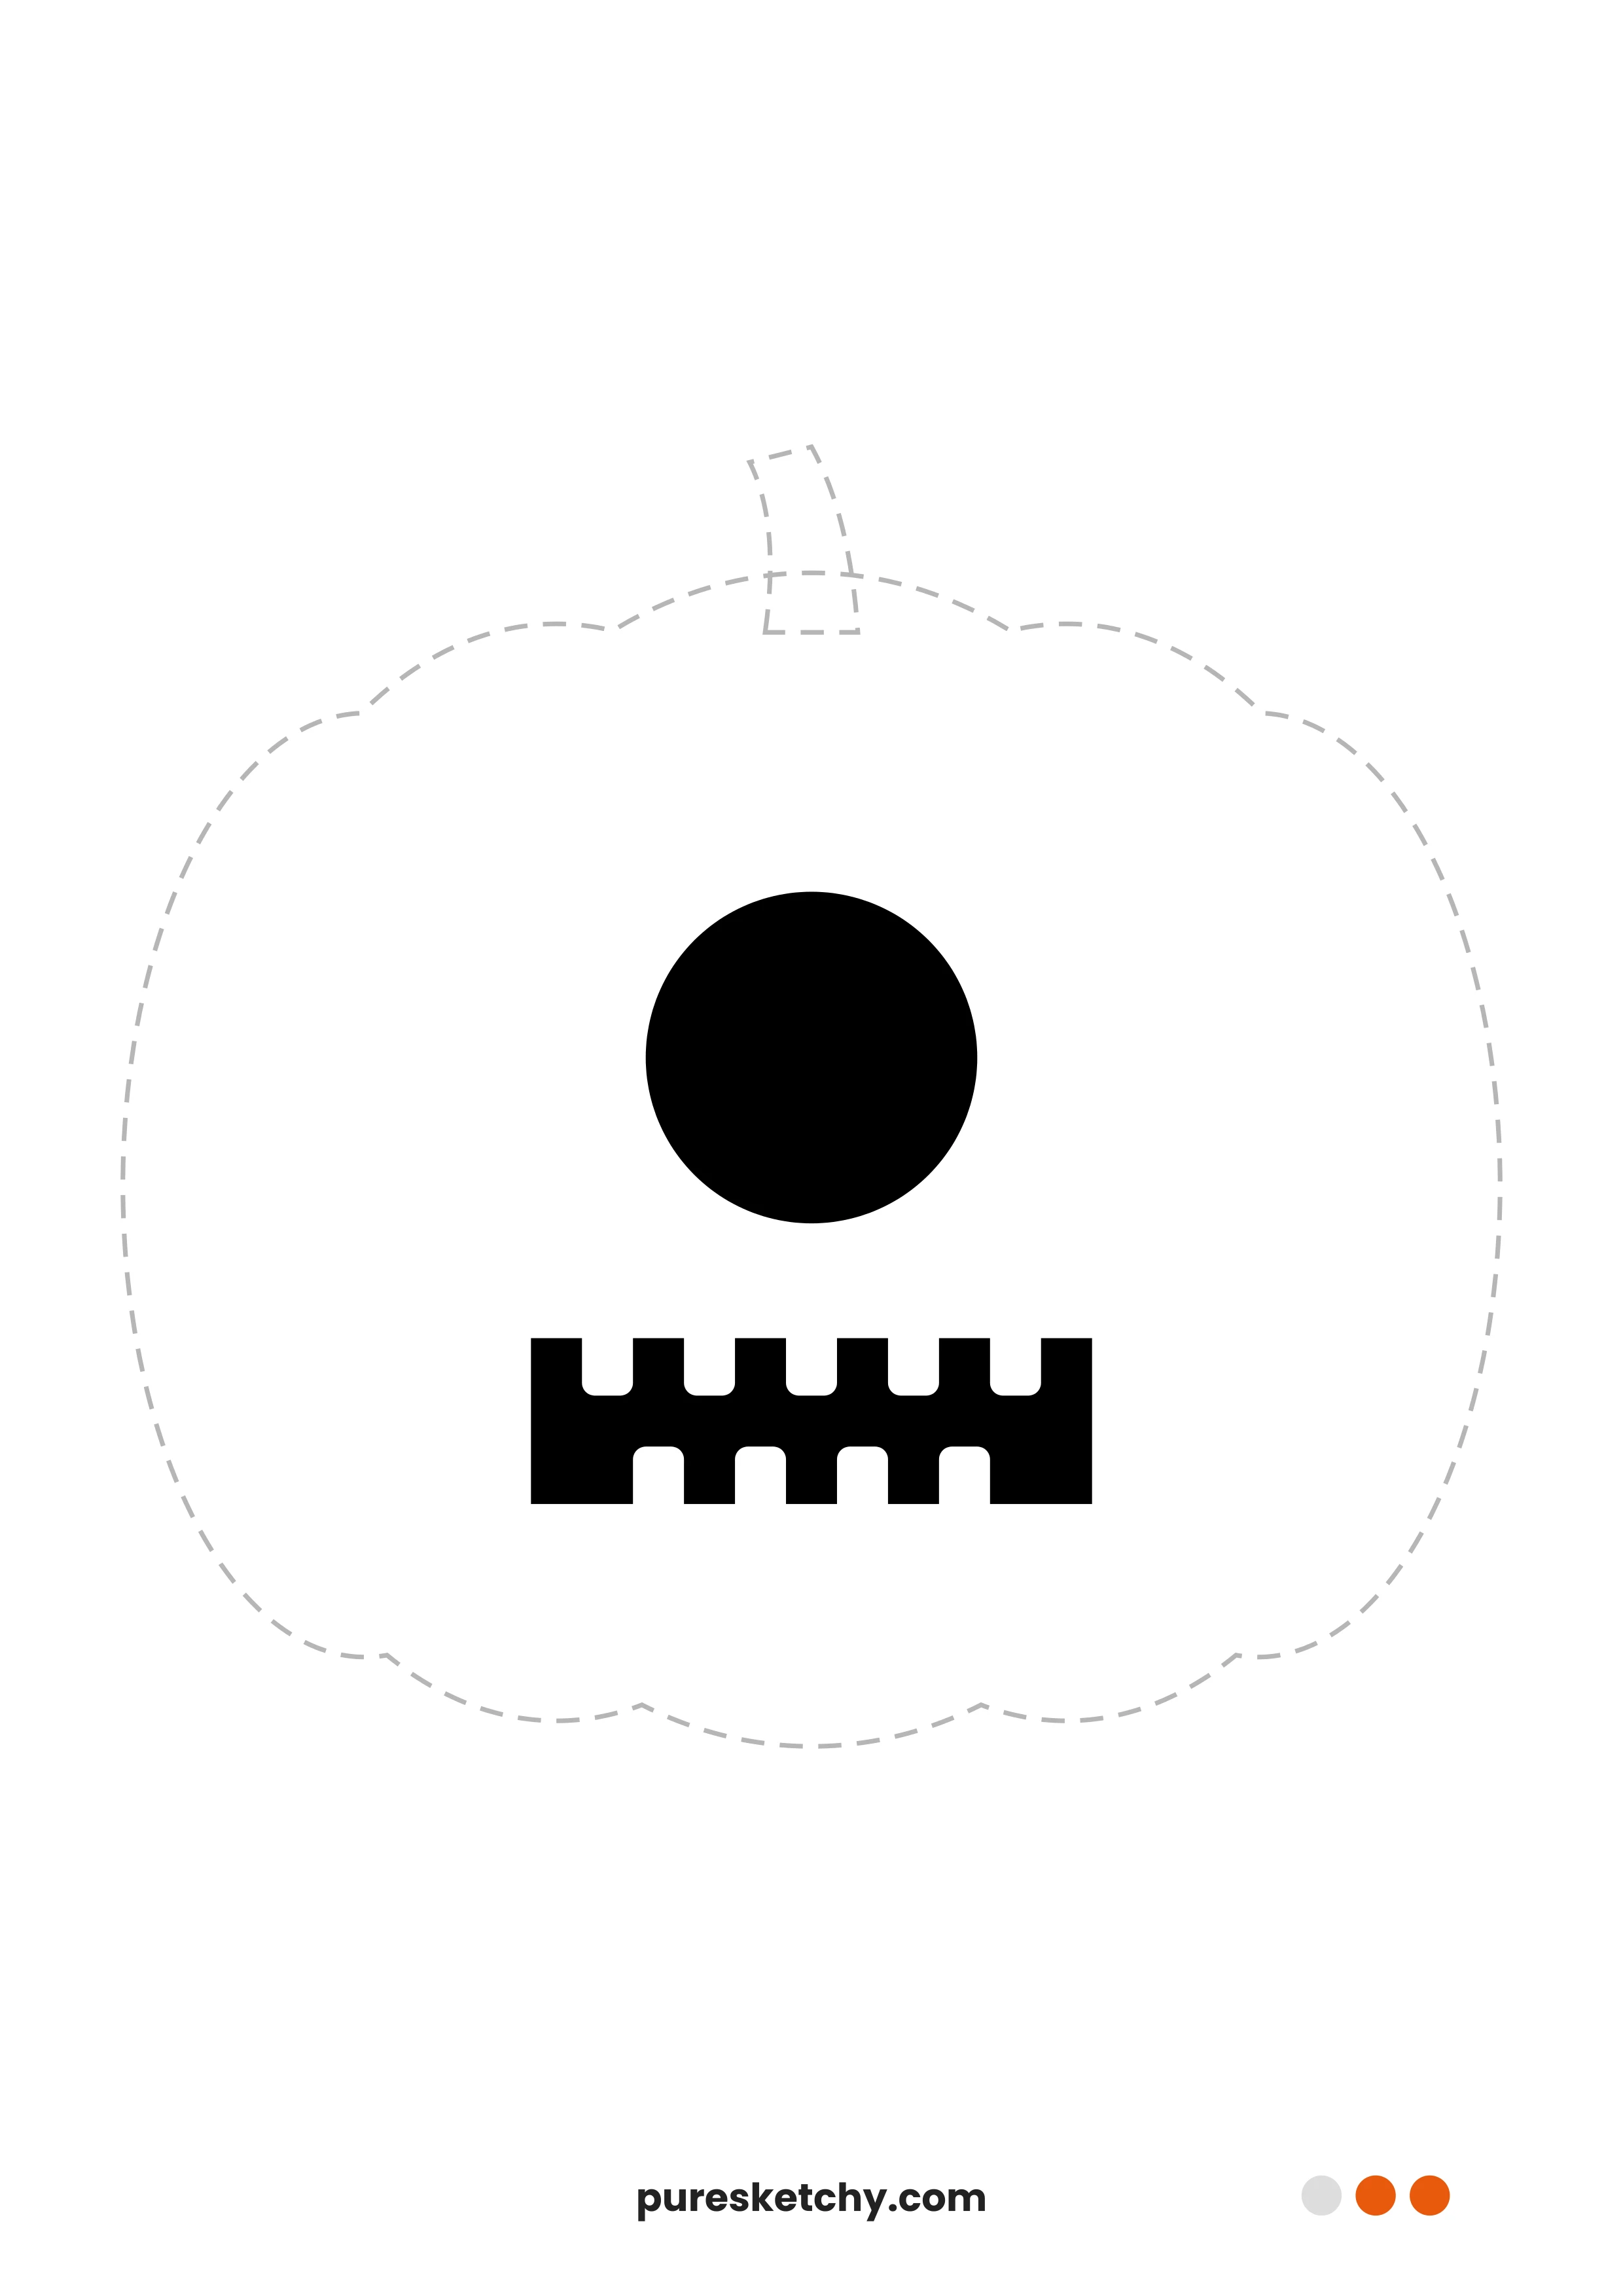
A single giant eye stares at you, and below it a square mouth grins with teeth on top and bottom. This monster is wild but more cuddly than mean. The pumpkin carving template puts everything on that big cyclops eye.
Why this face?
One eye instead of two is a simple trick, and it turns the pumpkin into a monster right away. The face is bold enough for older kids and still friendly enough for little ones. A big circle in the middle glows far out, and the teeth are easy to cut in a row.
One big circle and lots of square teeth.
The big eye works like a headlight.
Wild, but friendly and never too scary.
Teeth on top and bottom make a mighty bite.
✂️ How to Carve a Pumpkin with a Stencil
🧰 What You Need
- A pumpkin (carving pumpkin, or a small pie pumpkin for little faces)
- The printed stencil (100 % for a medium pumpkin, about 10–12 inches)
- Tape and scissors
- A big spoon or ice cream scoop for scooping
- A poking tool, toothpick or thick nail
- A small serrated knife or carving kit (adults only)
- An LED tea light
Cut a lid at the top, angling the knife inward so the lid won’t fall in.
Scrape out the seeds and pulp – on the face side, thin the wall to about 3/4 inch.
Trim the stencil, snip the edges so it hugs the curve, and tape it in place.
Poke holes through paper and skin along every black shape, about 1/8–1/4 inch apart.
Remove the paper and cut along the dots – small shapes first, big shapes last.
Pop in an LED tea light, put the lid back on – and turn off the lights!
⚠️ Safety: knives and carving tools belong in grown-up hands. Kids can pick and color the stencil, scoop out the pumpkin and, with supervision, poke along the outlines. Use LED tea lights instead of real candles.
Decorating idea: a monster family
Next to the silly pumpkin and the robot, the one-eyed monster looks like a colorful monster family. LED tea lights glow safely and for a long time. For a window version, color the eye on tracing paper in green or purple to make the monster one of a kind.
📦 All 30 Stencils in One PDF
Can’t decide? Download every pumpkin face as one PDF (30 pages, A4) and take your time choosing the perfect face for your pumpkin.
📄 Download the all-in-one PDF (30 stencils)More stencils from this group:
Frequently Asked Questions (FAQ)
What age can kids help?
Kids from about age 4 can color the monster and help scoop the pumpkin. All those teeth make good poking practice for older kids under supervision, but adults do the cutting.
Will the stencil fit my pumpkin?
Printed at 100 %, the face is about 6.7 inches wide and fits a medium pumpkin (10–12 inches). For small pumpkins, scale to 70–80 % when printing; for giant pumpkins, print on tabloid/A3 or scale up to 140 %.
Do I need to print the black areas?
The black areas show what gets cut out. To save ink, choose “draft” or “ink saver” in your print settings – the outlines will still be easy to see.
Is the stencil free?
Yes, all carving stencils and coloring pages on PureSketchy are free for personal use, preschools and schools.
Is there a German version?
Yes! You can find the German version at Einäugiges Monster.